Using the Resources section on your challenge is a great way to provide additional information or templates to the innovators who submit their entries. This guide will show you how to enable and populate this section.
Since the Resources section isn't enabled by default, you'll need to navigate to your Settings within the Edit dashboard of your challenge to do so. Just check the 'Enable resources' box and then click the 'Save' button:
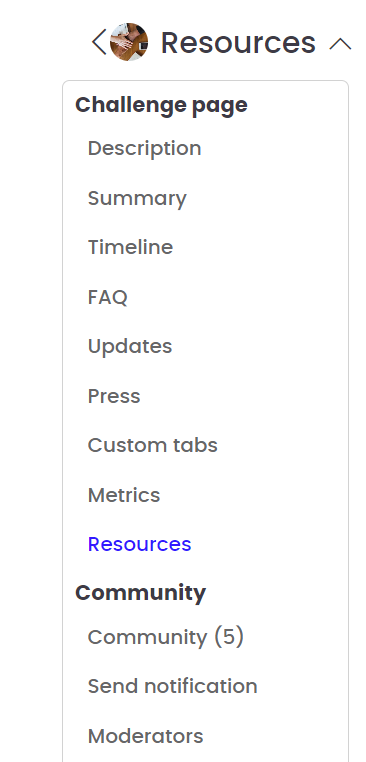
You’ll see the Resources section appear just below Metrics:
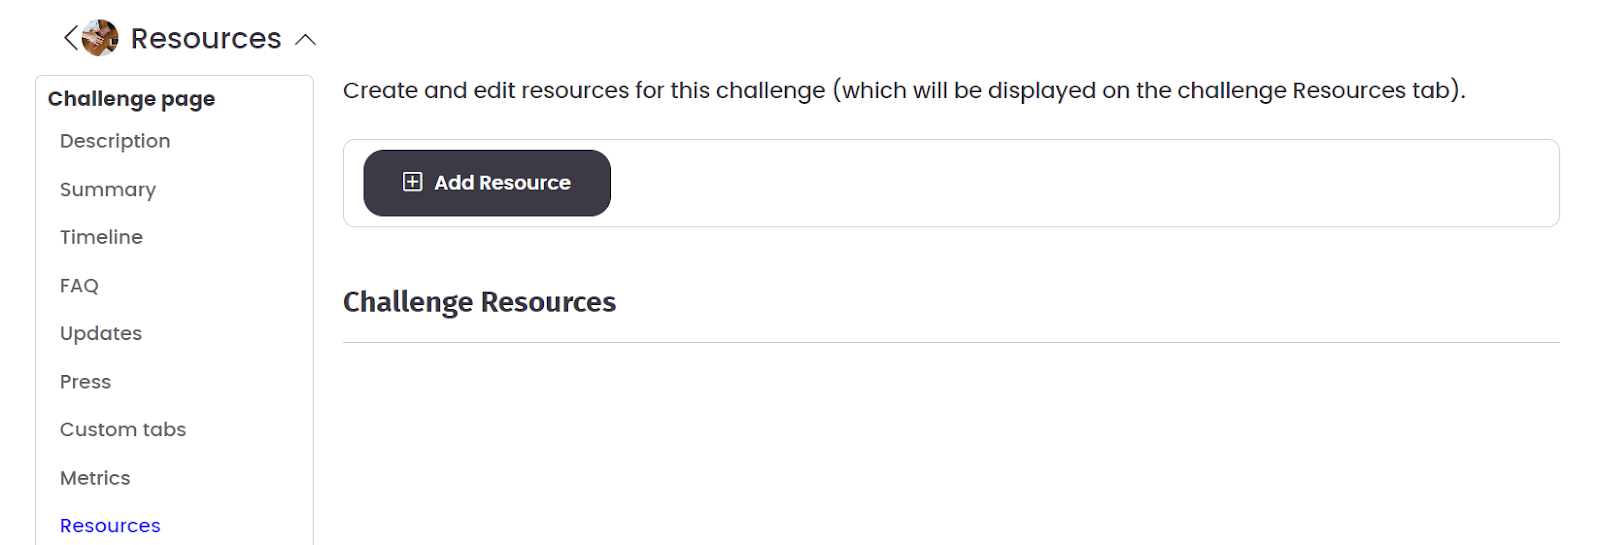
Click the Add Resource button to create one:
Fill in the Title and Description fields (denoted as required with an asterisk*) in order to save it. You can also include links or upload documents. You can tell if a Resource is visible on your challenge by looking at the Published checkbox. Resources can be created ahead of time and left unpublished until you’re ready to make them public.
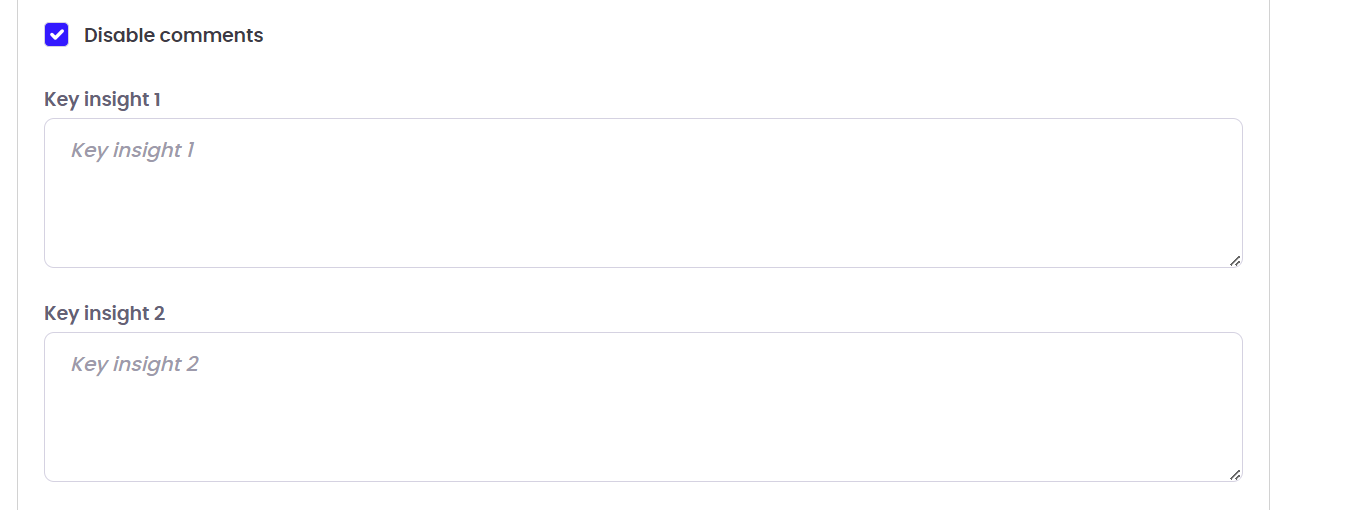
There are additional fields to provide more information or summarize key insights as well. By default, users don’t have the option to comment on Resources. However, if you would like the ability for users to start conversations on a particular resource, you can uncheck that box.
Before clicking ‘Save’ to publish your Resource, you can click the ‘Preview’ button at the top to see how it will display.
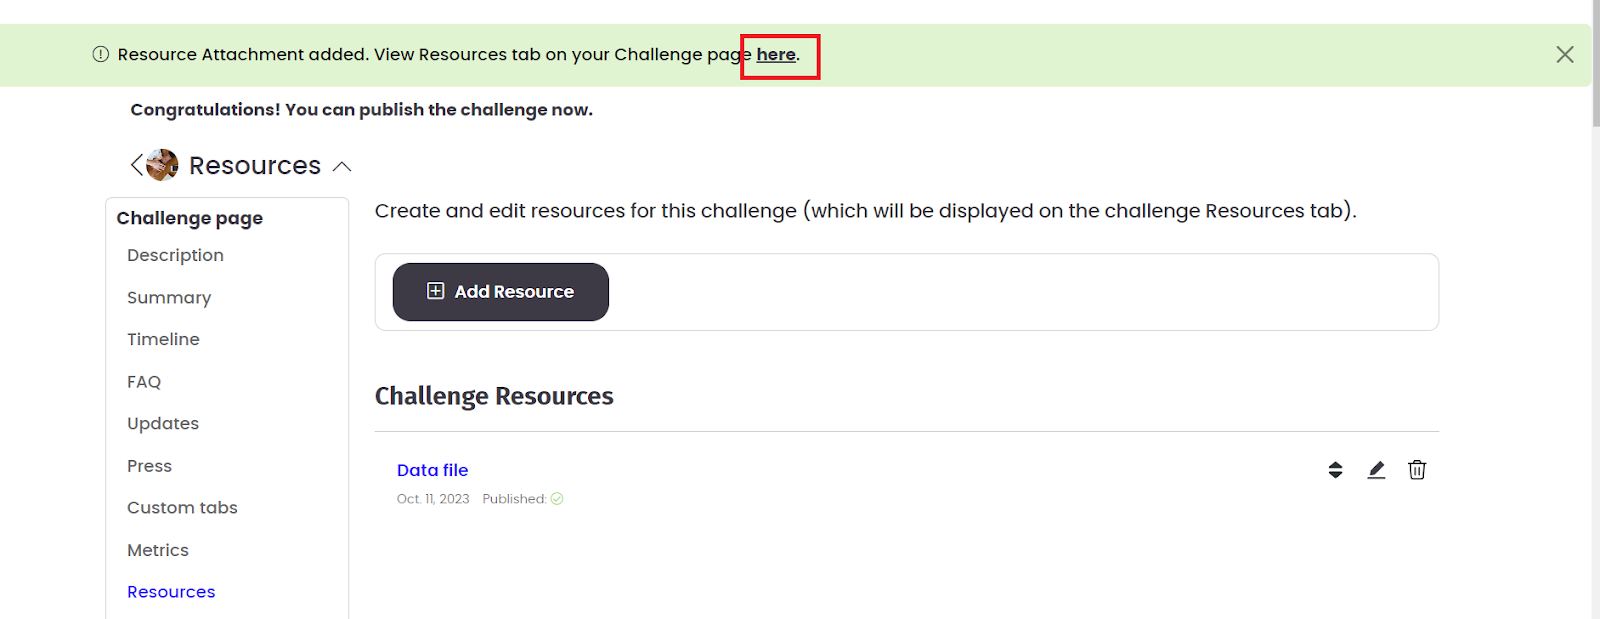
Once you click the ‘Save’ button at the top, a green banner will appear where you can click to view the published resource on your challenge.